 The new hands were installed and sanded. We can see that they had burn more because of their thickness, that’s an issue with Fimo or Sculpey, you have to be careful with the thickness our your objects during curing.
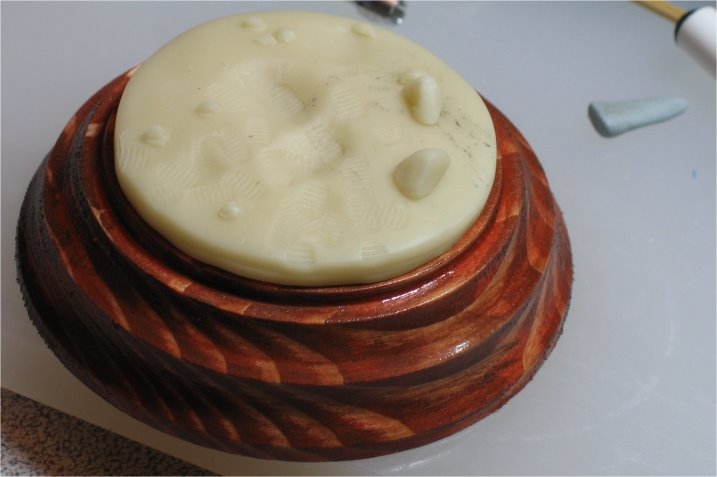 The surface of the moon base was created with a reverse process, meaning stamping sand pattern into the compound. The foot prints were created by using some car epoxy putty were I had printed a boot pattern on it (little grey part on the right) , using a small screw for the sole pattern (as discuss earlier).
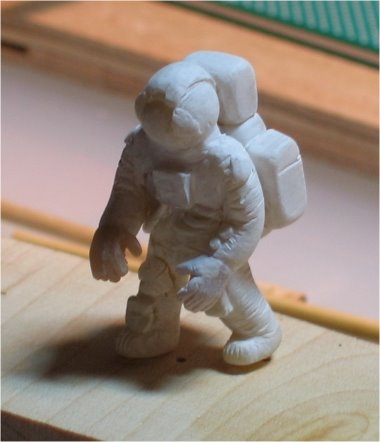 Painting the figure white
 Some blue tape were use to create some steady red lines curves.
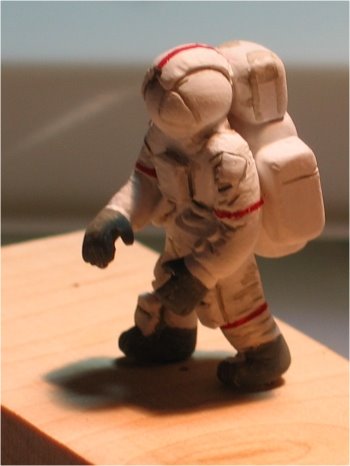 Blue tape taken off, some shadow was painted, I still need to read more on this matter, my skill is not good enough to represent proper shadows effects.
Go to Step 6 or back to Step 4
1 comment:
If you like I could make a tutorial on painting, to go alongside the surface making tutorial.
The basic technique I use is start with a dark color, then go lighter while leaving the deeper areas in darker colors.
You have a good start on your astronaut, it's hard to do on a small figure. I usually just cover it all up with heaps and heaps of "dirt" on the suits.
Post a Comment